How to Choose the Right Packaging Labels?
Choosing the right Packaging Labels begins with understanding the product’s real journey. A chilled jar may face condensation, repeated handling, and a quick rinse under a tap. A cardboard box may need only clear product details and a label that stays neatly attached. These differences matter. A label that looks excellent on a screen can wrinkle, fade, or lift in daily use.
Before comparing materials, consider the container, surface, storage conditions, and application method. Will the label touch glass, flexible film, or textured paper? Does it need to resist moisture, oils, abrasion, or temperature changes? Check adhesive compatibility, print quality, and readability at the actual label size. Small details matter. Test samples on the real package, not just a smooth test sheet. Then inspect them after handling and storage. One overlooked issue can mean rework.
A useful guiding line from Elena Marlow, a fictional composite packaging-label specialist, is: “Test for the journey, not the shelf.” This is an editorially created quotation, not a verified statement by a real expert. The principle is practical: judge labels under the conditions they will actually encounter. This guide explores how materials, adhesives, finishes, and design choices affect performance. It also leaves room for a less tidy truth: there may be no perfect label, only a well-tested fit for your product, budget, and workflow.
Identify the Information and Conditions Your Packaging Label Must Meet
Before choosing a packaging label, list the information it must carry. This may include the product name, ingredients or materials, net quantity, storage instructions, batch code, and use-by date. Requirements vary by product and destination, so confirm details with a qualified compliance professional. Leave enough clear space for text and scanning codes. Tiny type may fit the design, but it can be difficult to read.
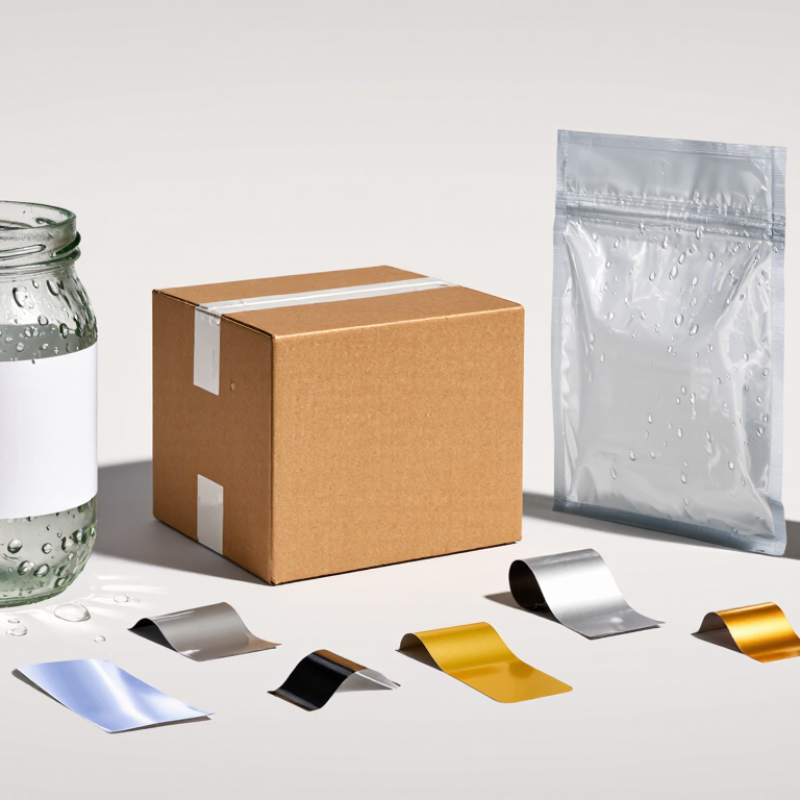
Then consider the conditions the label will face. A jar stored in a damp refrigerator needs different materials from a dry carton on a shelf. Check exposure to condensation, oil, heat, sunlight, rubbing, and cold. Match the label stock and adhesive to the package surface, especially if it is curved or textured. A label that looks secure on a clean sample may lift after repeated handling. Test it on the actual filled package through realistic storage and shipping conditions. One quick test is useful, but it may not reveal every weakness.
Tips: Apply a sample label to a packed item. Chill it, wipe it, and rub its edges after a day. Note peeling, smudging, or fading. Small details matter. Test results can still miss real-world variation, so review them before ordering a large quantity.
Compare Label Materials for Your Product and Environment
Choosing a label starts with the surface it must stick to and the conditions it will face. Paper labels suit dry, indoor products and offer a natural, easy-to-print finish. But a cold bottle taken from a refrigerator can collect condensation, softening ordinary paper and weakening its bond. A coated paper may resist light splashes, though it is not automatically waterproof. Small details matter.
For damp, handled, or refrigerated products, polypropylene film is often a practical option. It bends around curved containers and generally tolerates moisture better than paper. Polyester film can provide greater resistance to scuffing and heat, but may cost more and feel less flexible. The adhesive matters just as much as the face material: a good film label can still lift from a dusty, oily, or textured surface. Check the package surface, storage temperature, and likely handling before choosing.
Test samples on the actual container. Chill them, wipe them, and rub the printed area with a dry cloth. Look for curled edges, blurred ink, or labels that slide during application. I have seen material comparisons focus too much on the label and too little on the bottle’s finish; that’s an easy mistake to make. Test it first. A small trial may not reproduce months of storage, but it can reveal obvious mismatches early.
How to Choose the Right Packaging Labels?
Compare common label materials by their relative suitability for different product and environmental needs.
How to read this chart: Ratings are general, qualitative comparisons on a 1–5 scale, where 5 indicates stronger suitability. Paper is typically easy to print on but less suited to wet conditions; plastic films generally resist moisture better. Actual performance depends on the specific material, adhesive, coating, and application conditions.
Select an Adhesive and Finish for Reliable Performance
Packaging labels perform well only when the adhesive, surface, and finish suit real handling conditions. Start with the container: glass, coated cardboard, and flexible plastic each behave differently. A permanent adhesive may suit a dry glass jar, while a squeezable bottle needs one that tolerates movement. Cold storage, condensation, oil, and dust can weaken the bond. Test labels on filled packages, not just clean samples. That detail is easy to miss.
Finish affects both protection and readability. A laminate can resist scuffs and moisture, while uncoated paper may feel natural but mark more easily. Gloss can make colors look brighter; matte often reduces glare under store lighting. Neither is universally better. Check small text under the lighting customers will encounter, and rub the label with a damp cloth if moisture is likely. Allow time for the adhesive to build strength; an instant check can mislead. A label may look secure at application, then lift at a cold edge.
Tips: Start small. Apply samples to real packages, then chill, warm, flex, and wipe them as expected in use. Record edge lifting, bubbling, or fading. If results are mixed, adjust one factor at a time, though real-world handling is rarely perfectly consistent.
Choose a Printing Method and Verify Label Readability
Choose the printing method for the label’s real production demands. Digital printing suits short runs and frequent artwork changes. Flexography can be efficient for longer, repeat orders. Compare more than unit price: check setup costs, color consistency, lead time, and how small text holds up on the chosen material. A label that looks sharp on screen may blur on a curved bottle.
Readability needs a physical test. Print a sample, apply it to the actual package, and inspect it under warehouse lighting and at arm’s length. Check small ingredient text, lot codes, and barcode scans. FDA food-recall data for 2022 identified undeclared allergens as the leading recall cause, accounting for about 43% of reported food recalls. Clear, legible ingredient information matters. FDA rules generally require mandatory label information to meet minimum type-size requirements, with some exceptions.
Test after exposure to moisture, refrigeration, or handling if those conditions apply. Look for ink spread, glare, and text disappearing near seams. Then test it. I’d also ask someone unfamiliar with the design to find key information; designers often know where to look already. That small check can reveal confusing hierarchy before a full print run. The right choice is the method that keeps essential details readable on the finished package, not just on a proof.
Test Label Compatibility Before Finalizing Your Choice
A label that looks right on a sample sheet may fail on the actual package. Test it on the same material, finish, and shape you plan to use. A glass jar, a flexible pouch, and a textured carton each create different contact conditions. Small differences matter.
Apply test labels to clean, production-like packages. Press them firmly, then check adhesion after several hours and again after a day. Try the conditions your product will face: refrigeration, moisture, warmth, or light handling. For a chilled container, include condensation. For an oily surface, test whether the label edges lift. Watch closely. A corner that curls early may signal trouble during shipping.
Also test the printed result, not just the blank label. Check whether ink smears when rubbed with a dry cloth, and whether small text stays readable after handling. If packages move through a label applicator, run a short batch at the intended speed. It is tempting to approve a label after one successful test. That may be too quick; results can vary between package batches, and a test setup rarely captures every real-world condition. Keep notes on surfaces, temperatures, and wait times, then repeat any test that gives inconsistent results.