How to Choose Packaging Labels for Your Products
Choosing Packaging Labels is not just a design decision. The right label must fit the product, survive its storage conditions, and remain easy to read. A paper label may look crisp on a dry jar, yet peel when exposed to condensation. A bottle handled with oily hands can create a different problem. These details affect material, adhesive, finish, and print choices. Small details matter.
Start with the product itself: its shape, surface, and likely journey from filling line to customer. Consider whether it will face refrigeration, sunlight, frequent handling, or moisture. Then weigh practical needs against appearance and cost. Clear type, strong contrast, and sensible placement help customers find key information without crowding the package. The label should also work with the equipment and application process used in production. A sample tested on the actual container often reveals issues that a screen preview cannot. Even then, one test may not reflect every condition, so keep checking.
There is no single material or adhesive that suits every product. A common mistake is choosing by appearance alone, before testing durability and fit. I would also avoid assuming that a label that works on one container will perform the same way on another. Product and packaging requirements can vary by market, so verify current guidance with qualified sources before printing at scale. This guide explains the main choices and trade-offs, helping you ask better questions of suppliers and make a decision based on evidence, not just a polished mock-up. It is a practical starting point, not a substitute for testing.
Identify the Label’s Purpose and Product Requirements
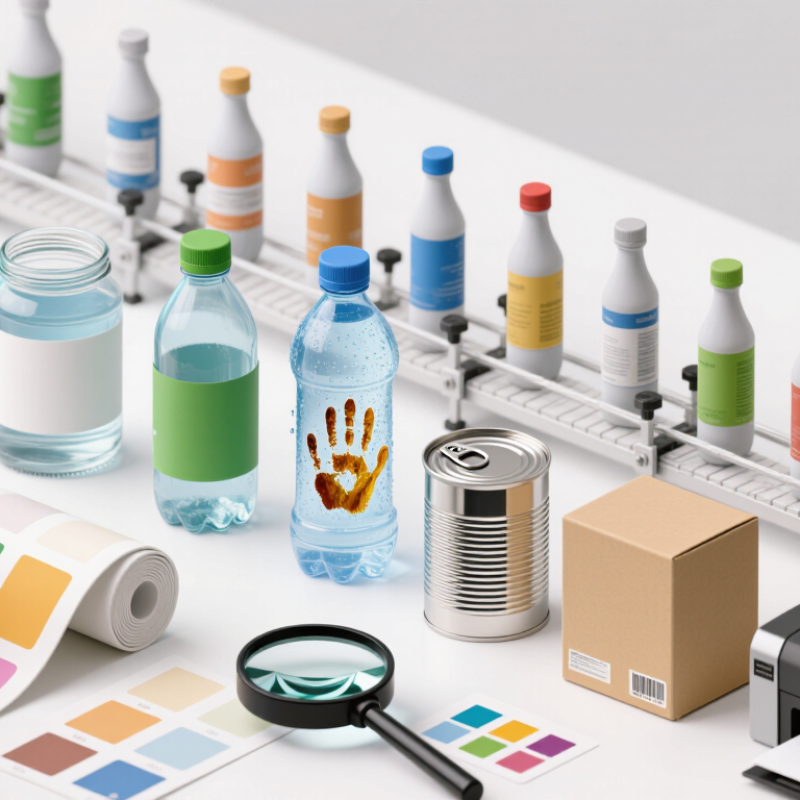
Before choosing a label, define its job. A front label may need to catch attention; a back label may carry ingredients, instructions, or traceability details. A small bottle has little room, while a frozen pouch needs graphics that remain legible after condensation. Write down the product’s surface, storage conditions, handling, and expected shelf life. Then test the label on the actual package, not just a screen mock-up. Small detail, big difference.
Material and adhesive should match real use. A paper label can suit a dry carton, but moisture may wrinkle it or weaken adhesion. For chilled products, test a sample through refrigeration and handling. McKinsey’s 2023 sustainability research reported that 60 percent of surveyed consumers were willing to pay more for sustainable packaging. That finding supports considering recyclability, but it does not make one label choice right for every package. Check whether the label, ink, adhesive, and container can be processed together. Smithers’ industry report, The Future of Labels to 2028, tracks continued growth in label demand, reflecting how labels serve both practical and communication needs. Keep type readable at the final print size. I’ve learned that mock-ups often look clearer than production labels. That’s worth checking twice.
How to Choose Packaging Labels: Identify Product Requirements
For packaged foods sold in the United States, the product’s principal display panel area determines the minimum type height for the net quantity statement.
The chart shows FDA minimum type heights, in inches, for each principal display panel (PDP) area range. Use the correct PDP area when planning label layout, and confirm applicable rules for your product and market. Source: 21 CFR § 101.105.
Choose a Material That Suits the Product and Environment
A label’s material should suit both the product and its journey to the customer. Paper labels work well on dry, room-temperature packaging, such as a cardboard tea box. They offer a natural texture and are easy to print. But moisture can wrinkle paper or weaken its adhesive. Small details matter. A chilled bottle may collect condensation before it reaches a shop shelf.
For products exposed to water, oils, or frequent handling, consider a durable film label. Polypropylene films often resist moisture and tearing, while polyester can tolerate more demanding conditions. Match the adhesive to the container, too. A label that sticks firmly to glass may lift from a curved, flexible pouch. Test a filled package in realistic conditions: refrigerate it, wipe it, and check for peeling or smudged ink. A quick desk test can miss real problems.
The surrounding environment matters as much as the product. A package stored outdoors may need protection from sunlight and temperature changes. Yet a tough film label can complicate recycling when it cannot be separated from the container. I would not assume that a material marked recyclable fits every local system. Ask packaging suppliers about compatibility, and check the actual disposal route. Sometimes a smaller label or a compatible paper stock is the better trade-off, even if it looks less polished.
Select an Adhesive for the Packaging Surface
A label can look perfect on a sample and still lift from the finished package. Adhesive choice depends on the surface, temperature, and handling conditions. Glass, coated cardboard, and flexible plastic each behave differently. A smooth glass jar may accept a permanent adhesive easily, while a squeezable bottle needs one that can flex without peeling at the edges.
Check the surface before choosing. Is it dusty, textured, damp, or coated with oil? Even a thin film can weaken the bond. For corrugated boxes, a stronger adhesive may be needed to grip uneven fibers. For chilled containers, select an adhesive rated for cold application and condensation exposure. Not all “all-purpose” options perform equally. Apply a small test label to the actual package, then press it firmly and inspect it after a day. Try the test under realistic storage conditions, too. A warm warehouse and a refrigerated display tell different stories. The test may be inconvenient, but replacing labels after filling is worse. One detail is easy to miss: some surfaces release additives over time, so an initially secure label can begin lifting later. Check again after several days, especially around corners and seams.
Plan Label Size, Design, and Required Information
Choose label size by measuring the package where the label will actually sit. A flat bottle panel is easier to label than a narrow, curved jar. Leave a small gap near seams, edges, and caps so the label does not wrinkle or lift. Make a paper mock-up and wrap it around a filled container. Small details matter. I once judged a label on an empty jar; the full jar’s curve changed how the text looked.
Design for quick reading. Set the product name and key detail in a clear visual order, then use supporting text at a comfortably readable size. Strong contrast helps under store lighting, while too many type styles can make a small label feel crowded. Check the design at actual size, not only on a bright computer screen. Test it wet. If the package may face condensation, try the label on a chilled container and watch for smearing, bubbles, or peeling.
List the information customers need, such as product identity, quantity, directions, warnings, or storage details when relevant. Exact requirements vary by product and sales location, so verify them with a qualified compliance professional before printing. Keep essential copy away from folds and curved edges. Leave enough space for a batch code or other variable details if your process needs them. Read a printed sample at arm’s length, then ask someone unfamiliar with the product to find the important information. If they pause, the layout may need another pass.